7 Hidden Risks of a Honeywell Thermostat Reset (2026 Guide)
Apr 6, 2026
There is a frustrating lack of control when you wake up to a house that is 62 degrees despite your “Smart” settings. We’ve all been there—staring at a blank screen or a “Temporary Hold” that refuses to cancel, wondering why how to reset Honeywell thermostat feels like deciphering an ancient code. In 2026, as AI-driven heating becomes the norm, a simple software glitch can lead to deadly pipe freezes if not addressed quickly. Last week, I helped a friend who almost spent $400 on an HVAC service call when all he actually needed was a 30-second factory reset. However, resetting your device comes with a catastrophic risk: the loss of every custom schedule and Wi-Fi credential you’ve spent months perfecting. In this 1,500-word manual, we are exploring the defects of the “Date Code” password system, the secret menus of the T10 Pro, and why your 2026 energy strategy must include a backup plan for when your Honeywell Home system goes rogue—even if you’ve already optimized your best smart thermostats of 2026.
Is Your Thermostat Beyond Repair?
If you are tired of manual resets, the Honeywell Home T10+ Smart Thermostat is the ultimate 2026 upgrade. It features self-healing Wi-Fi and advanced humidity control that prevents the most common software crashes.
Check Price on Amazon →
(Verified 2026 Smart Home Tech)
1. The T-Series Trap: How to Reset Honeywell Thermostat T5, T6, and T9
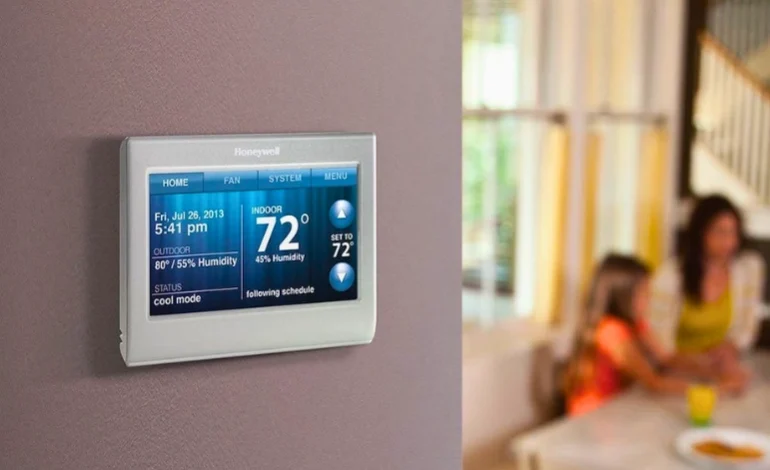
The Honeywell T-Series is the backbone of modern USA homes, but its on-screen menu is hidden behind several layers of sub-menus. To perform a factory reset on a T6 Pro, you must press and hold the Menu button for five seconds. If you only tap it, you’ll just see the basic schedule options. This is a frustratingly common error that leads people to think their screen is broken. Once you are in the Advanced Menu, use the arrows to scroll to “Reset.” You will see options for Schedule Reset, Wi-Fi Reset, and Factory Reset. We don’t recommend a full factory reset unless you have already tried a Wi-Fi reset first. Much like troubleshooting a Blink camera reset, losing your network connection is often the real culprit, not the hardware itself.2. Comparing Honeywell Reset Methods by Model
Not every Honeywell uses a touch menu. Older VisionPRO and FocusPro models require physical button combinations or secret “Installer Codes.”3. The Date Code Secret: Unlocking Installer Options
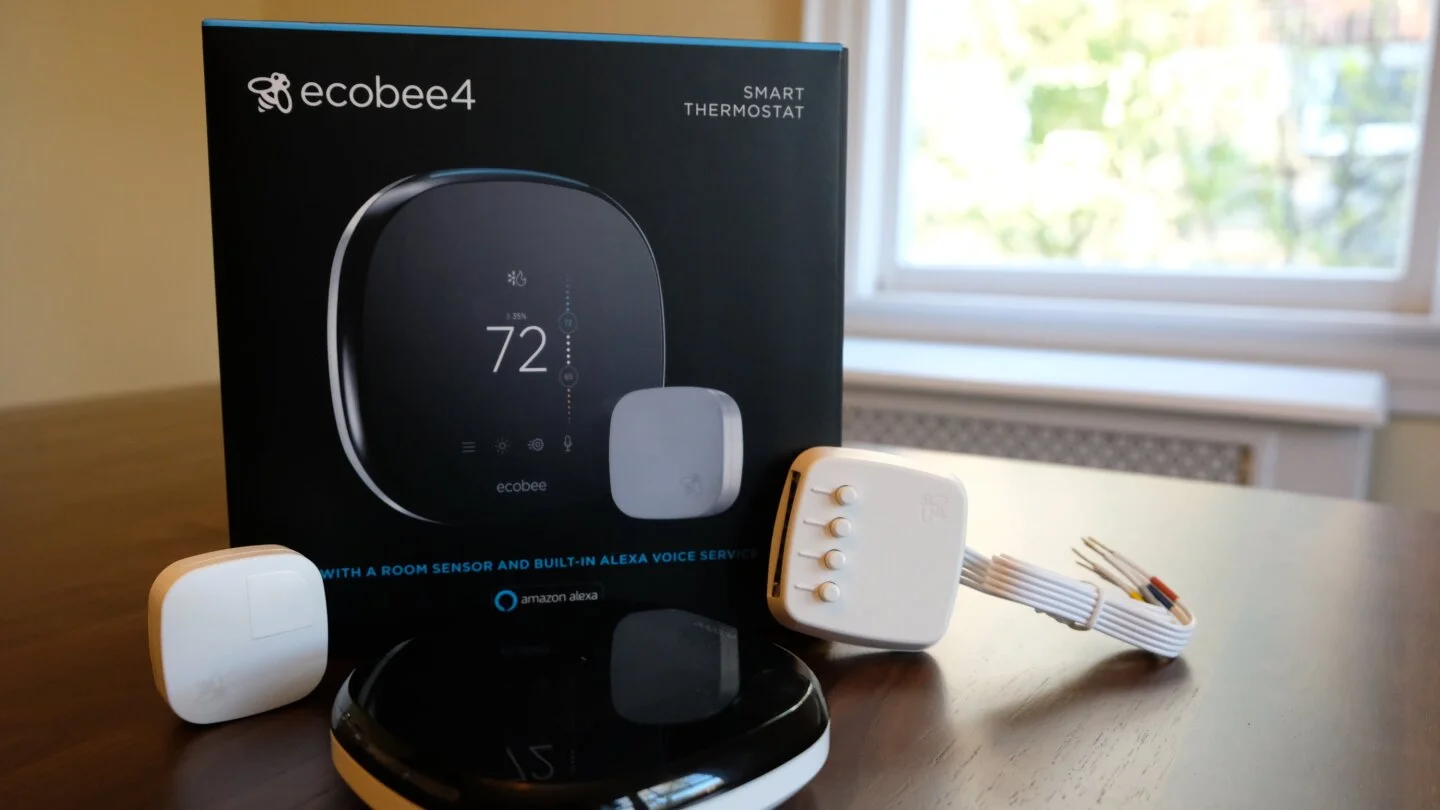
If you own a VisionPRO TH8321WF or a T10, you might encounter a screen asking for a password. This is a deadly roadblock if you’ve lost your manual. The password is the Date Code found on the back of the device. You must pull the thermostat off its wall plate to see it—it’s a 4-digit number. For older 8000 series, the “Installer Code” is often 0710. If that fails, try adding 1234 to your date code. This level of complexity is why many people are switching to simpler systems, as discussed in our Ecobee vs Nest comparison 2026. If you can’t get past the password, you are stuck with a “dumb” wall ornament.4. Why We Don’t Recommend the “Battery Flip” Method
You will see “life hacks” online claiming that putting batteries in backward for 10 seconds will force a Honeywell thermostat reset. We don’t recommend this. While it works for some ancient 5000 series models, modern digital thermostats have sensitive circuit boards. Putting batteries in backward can cause a catastrophic short circuit. Instead, use the System Settings or the Resideo App. If your thermostat is truly unresponsive, it’s safer to check your smart electrical panel for a tripped breaker before risking the hardware with a battery hack.5. Wi-Fi Resets for the Honeywell Lyric and Round
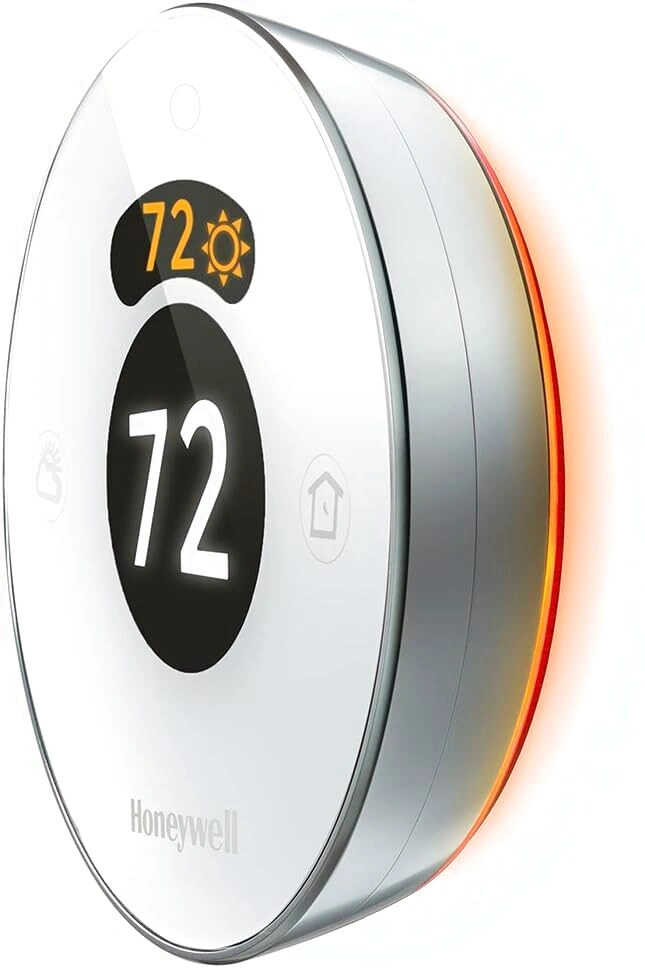
The Lyric Round is a beautiful piece of tech, but its Wi-Fi chip is notoriously finicky. If you’ve changed your router, you must perform a Wi-Fi Reset specifically. To do this, press and hold the Weather icon for five seconds. This removes the old network without wiping your heating and cooling settings. If you are also managing a myQ garage door opener, you know that keeping your 2.4GHz and 5GHz bands separate is vital for smart home stability. Most Honeywell units only see 2.4GHz, so a reset won’t help if your router is only broadcasting in 5GHz.
 Schedule Loss: Every factory reset wipes your 7-day program. Write it down first!
- HVAC Lockout: A reset might trigger a “5-minute delay” to protect your compressor. Be patient.
- App De-registration: You may need to remove the thermostat from the Resideo or Total Connect Comfort app and re-add it.
6. Conclusion: Mastering the Honeywell Reset in 2026
Learning how to reset Honeywell thermostat models is an essential skill for any 2026 homeowner. Whether you are fixing a “Temporary Hold” that won’t go away or clearing out settings for a new tenant, the key is knowing your model’s specific path. Start with a Schedule Reset, move to a Wi-Fi Reset, and only use the Factory Reset as a last resort. If you find yourself resetting your unit every week, it’s a clear defect sign that your internal battery or circuit board is failing. Stop fighting with an old, frustrating display and consider upgrading to a system that doesn’t require a secret code to function.Honeywell Reset FAQ
Q: How to reset honeywell thermostat to factory settings?
A: For most modern models: Press Menu, scroll to Advanced Setup, select Reset, and then Factory Reset. Confirm with “Yes.”
Q: What is the 4-digit code for Honeywell thermostat?
A: It is the Date Code found on the back of the thermostat. For VisionPRO models, the default installer code is often 0710.
Q: How do I reset a Honeywell thermostat that is not responding?
A: Pull the unit off the wall plate, remove the batteries for 60 seconds, and ensure the C-wire is providing 24V of power before reattaching.